How to hand letter on a glass mug: easy DIY
Oh what fun it is to… drink out of a custom lettered glass mug!
Even better, what if you could personalize it in three very simple steps? If you’ve never done it before, don’t let the fear of drawing on a nice household object hold you back. It’s actually a lot easier than you might think, and I’ll show you how.
Materials
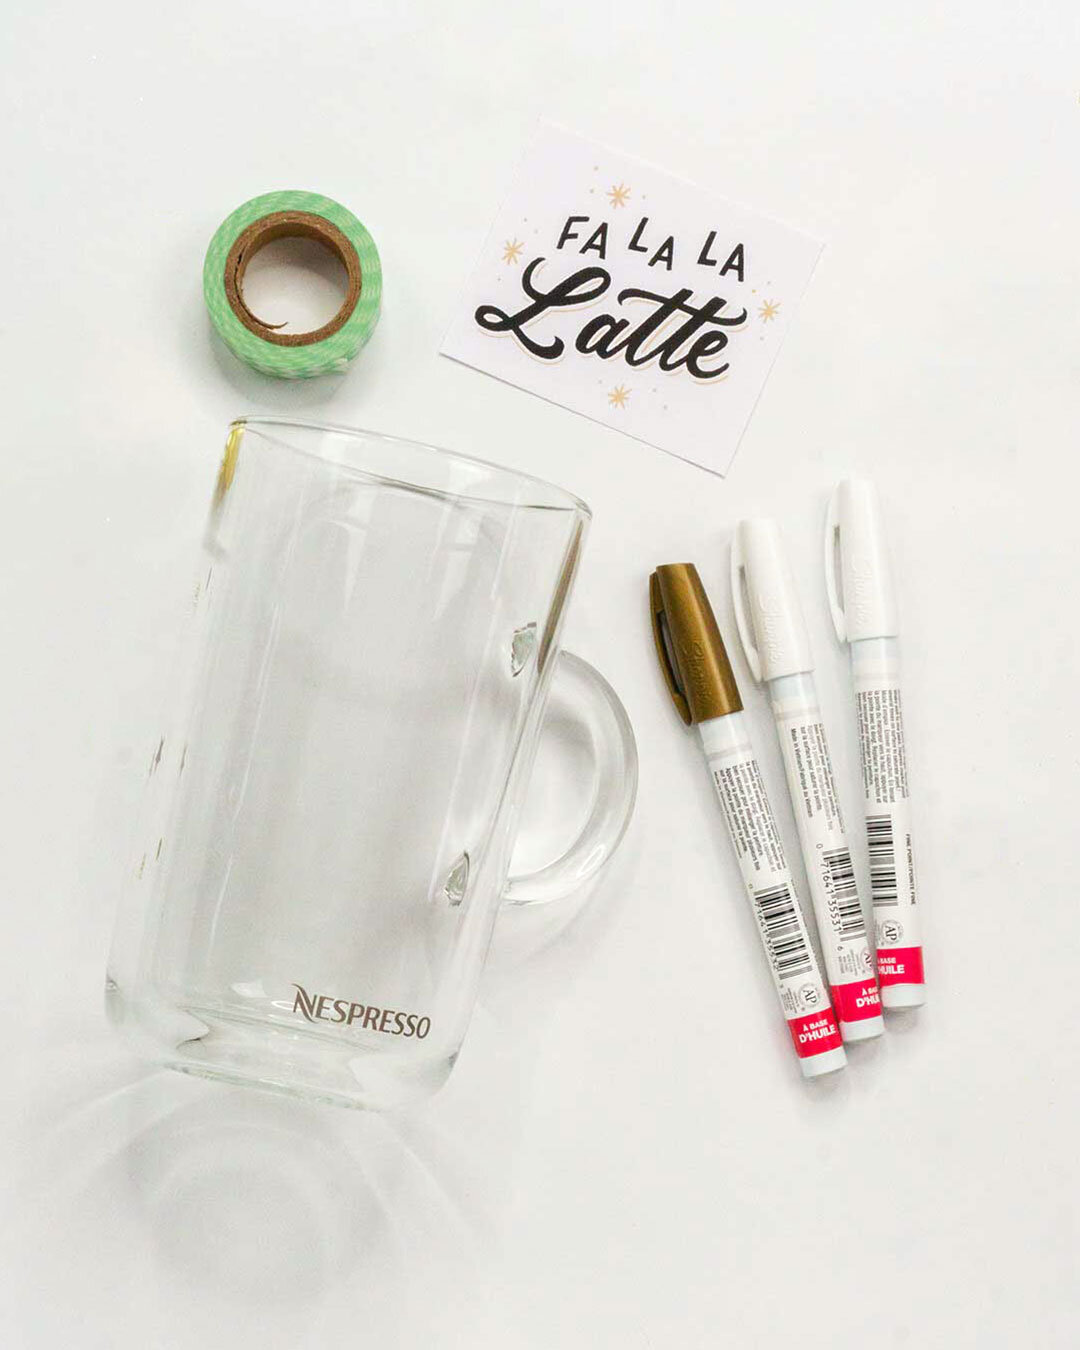
Here’s what you’ll need:
Glass mug (here’s a set of 4 I’ve used for customizations)
Oil-based paint pens (Shown here is white fine-point oil-based Sharpie markers and gold extra-fine-point Sharpie marker)
Paper sized to mug design and pencil
Scrap paper
Cloth to wipe down mug
Optional: Rubbing alcohol and q-tips for touch-ups for fixing mistakes
Step 1: Prep your glass and design
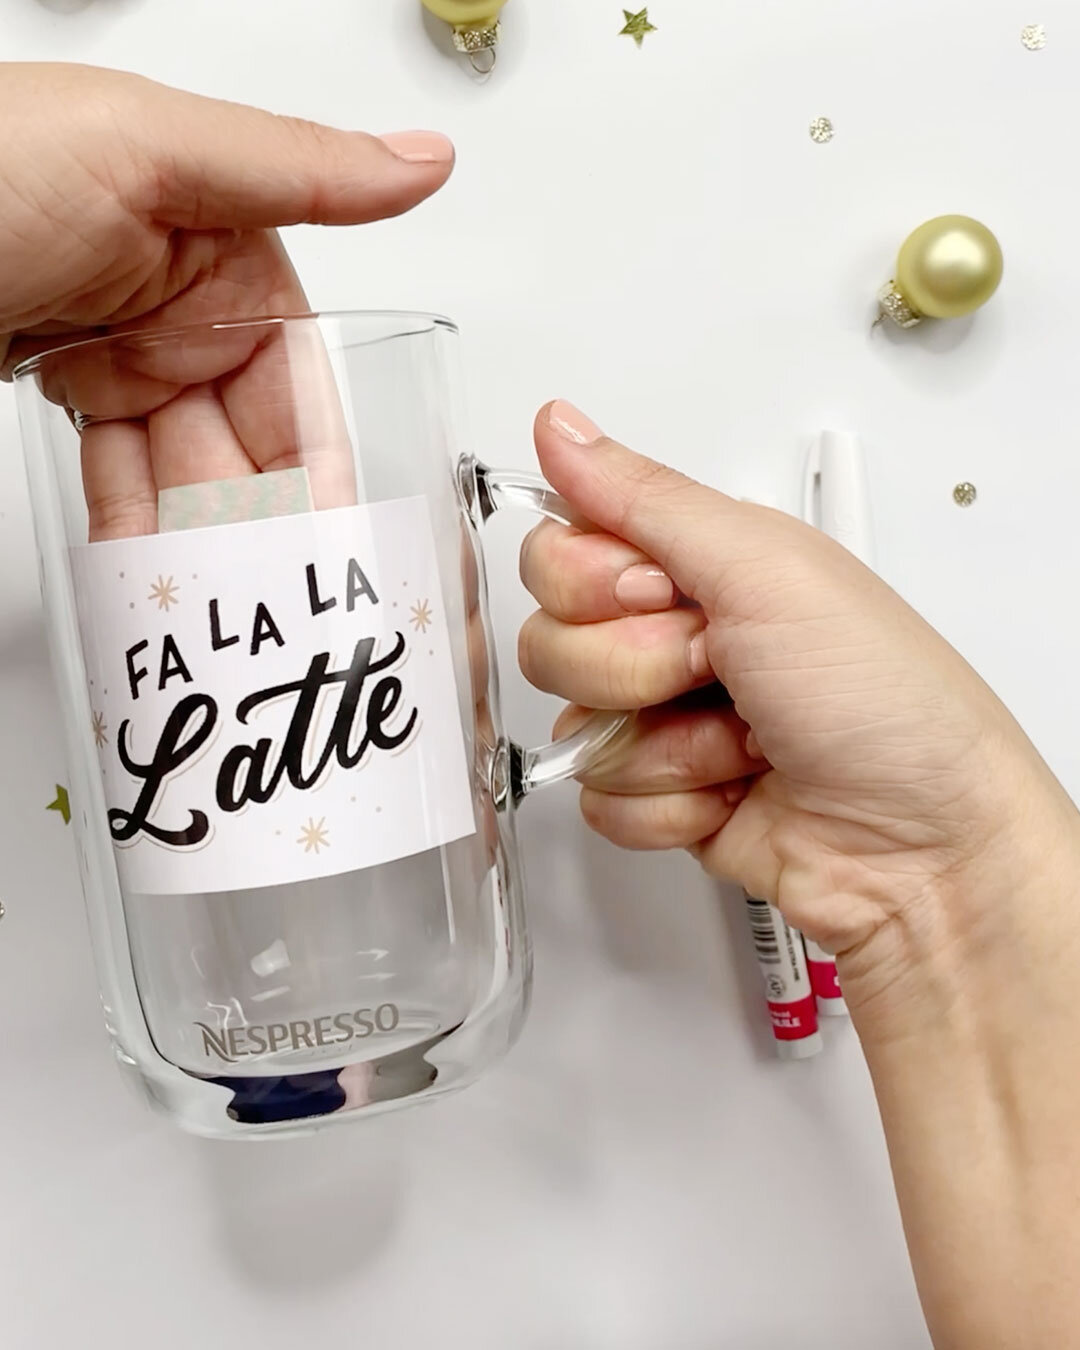
Wipe down your glass with a cloth (microfiber cloths are great for this!) so that it is as dust- and fingerprint-free as possible.
Then, take your piece of paper and sketch out your design (coffee puns welcome 😉). You can also create your design on the computer and print it out to size. For this example, I sketched the hand lettering in Procreate and printed it out after resizing in Photoshop.
Once your glass is cleaned, tape your design to the inside of the mug. Make sure that it is centered and not in a place where someone could accidentally touch their mouth to it when drinking.
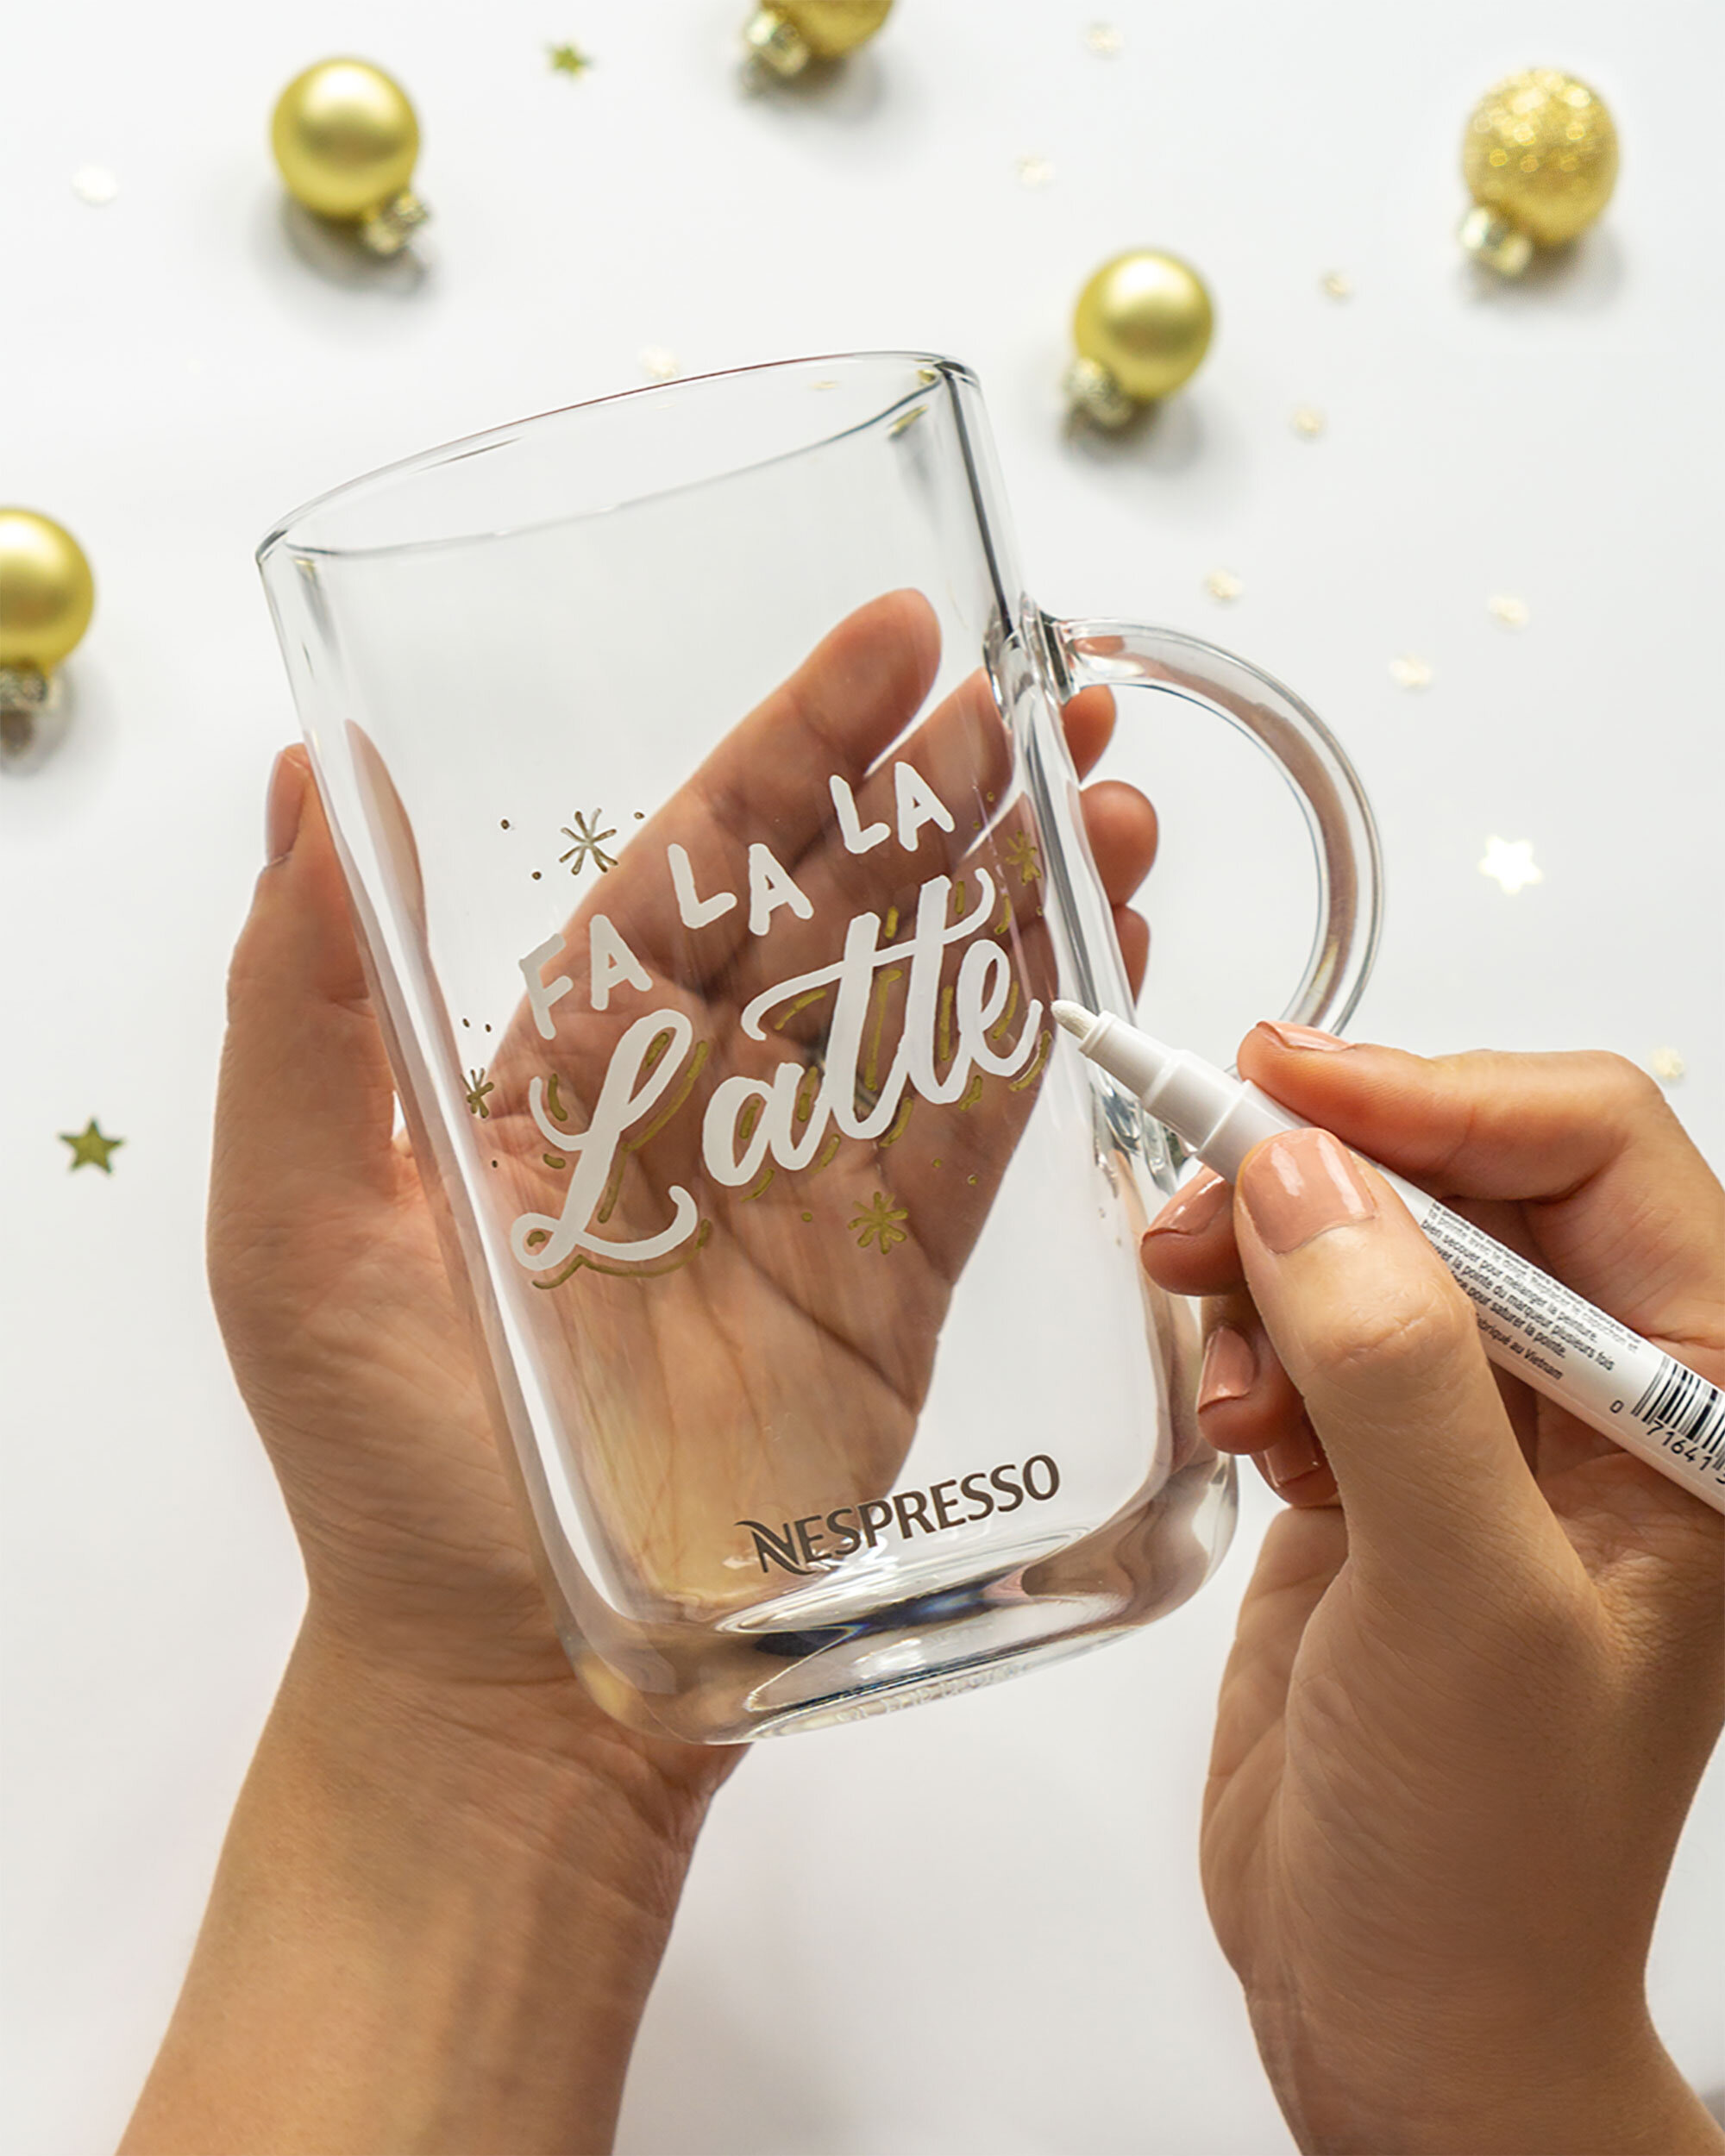
Step 2: Trace the design onto the mug
Now that you can see your design through the glass, the next step is to trace it!
Here’s a few tips to remember:
Make sure you are using oil-based paint pens so that your design doesn’t accidentally wash off. I am using a white fine-point Sharpie marker and gold extra-fine-point Sharpie marker in this tutorial.
Have a scrap piece of paper nearby so you can test the pen and get the paint to flow out smoothly before applying it to the glass.
Be prepared to see some space between the design and the surface of the glass, depending on how thick the material is. Use the design as a general guide, but don’t be scared if it can’t line up perfectly. You got this!
For a smooth finish to your lines, it’s best to work quickly so that you are drawing and going over your lines as needed before the paint dries. Otherwise the pen tip might scrape some of the paint off.
If you mess up or need to make some touch ups along the way, apply rubbing alcohol onto a q-tip or cloth and wipe away.
Step 3: Let the paint dry

Once you’re done applying your design, let the paint dry for 24 hours.
Once the mug is dry enough, carefully remove your taped design to reveal your beautifully customized mug! ✨
Optional: Set the paint by baking the mug.
You can also put the mug in an unheated oven, then heat the oven to 350 degrees and let it bake for 20 minutes. Just make sure there is nothing else on the mug that might get affected by the heat. Then, let the mug cool down in the oven so it doesn’t accidentally crack from any sudden temperature changes.
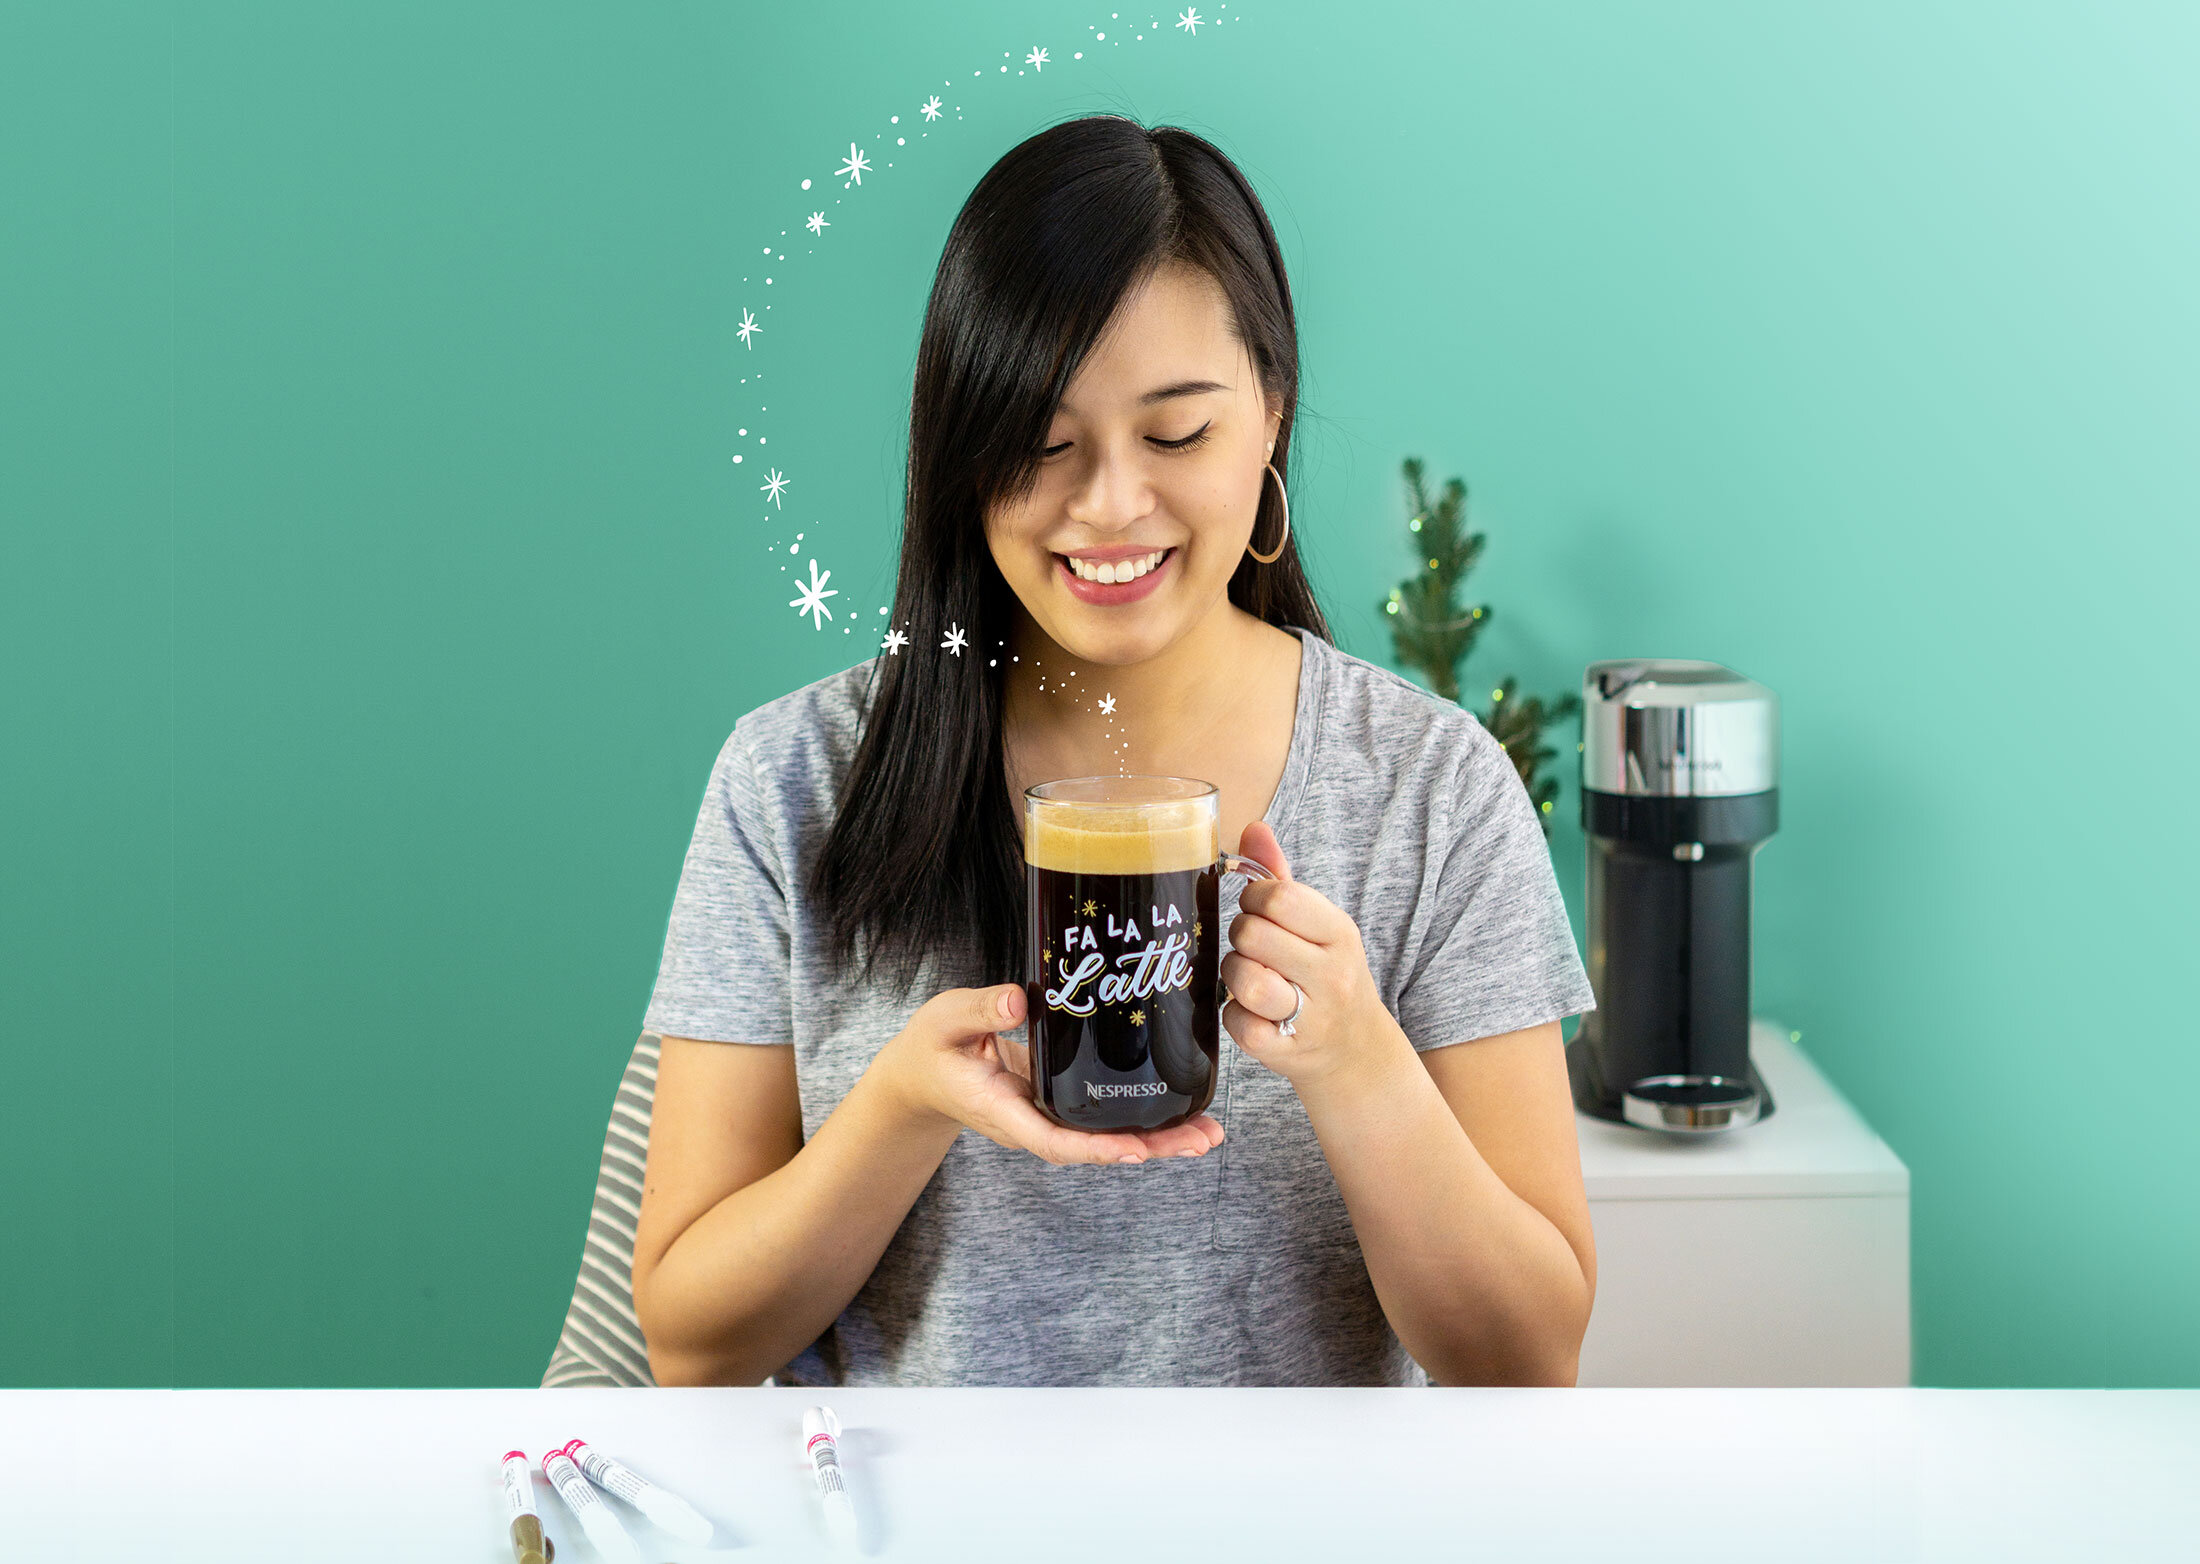
Enjoy your awesome hand lettered mug!
Finally, fill the mug up with your favorite drink (or gift the mug to a loved one ❤️). I recommend sticking to hand washing these mugs to preserve the design.
Cheers!! ☕️
Did you find this useful? Pin me to bookmark this tutorial! ⤵