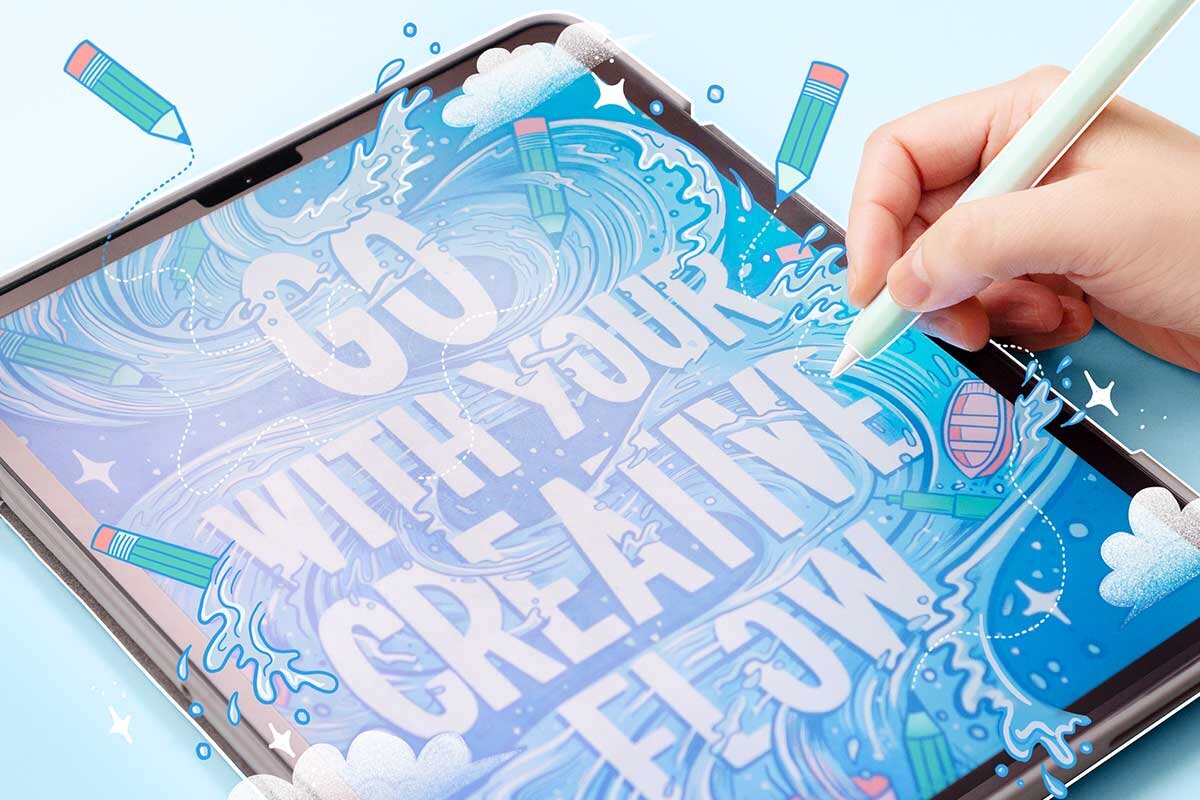
The best tools for digital lettering
Let’s say you got a big bonus at work and you’re ready to invest in digital tools for your biz. Aww yass! But wait. Which tablet are you going to get? iPad? Wacom? Huion? So many options…
But you know these tools will be worth it in the long run.
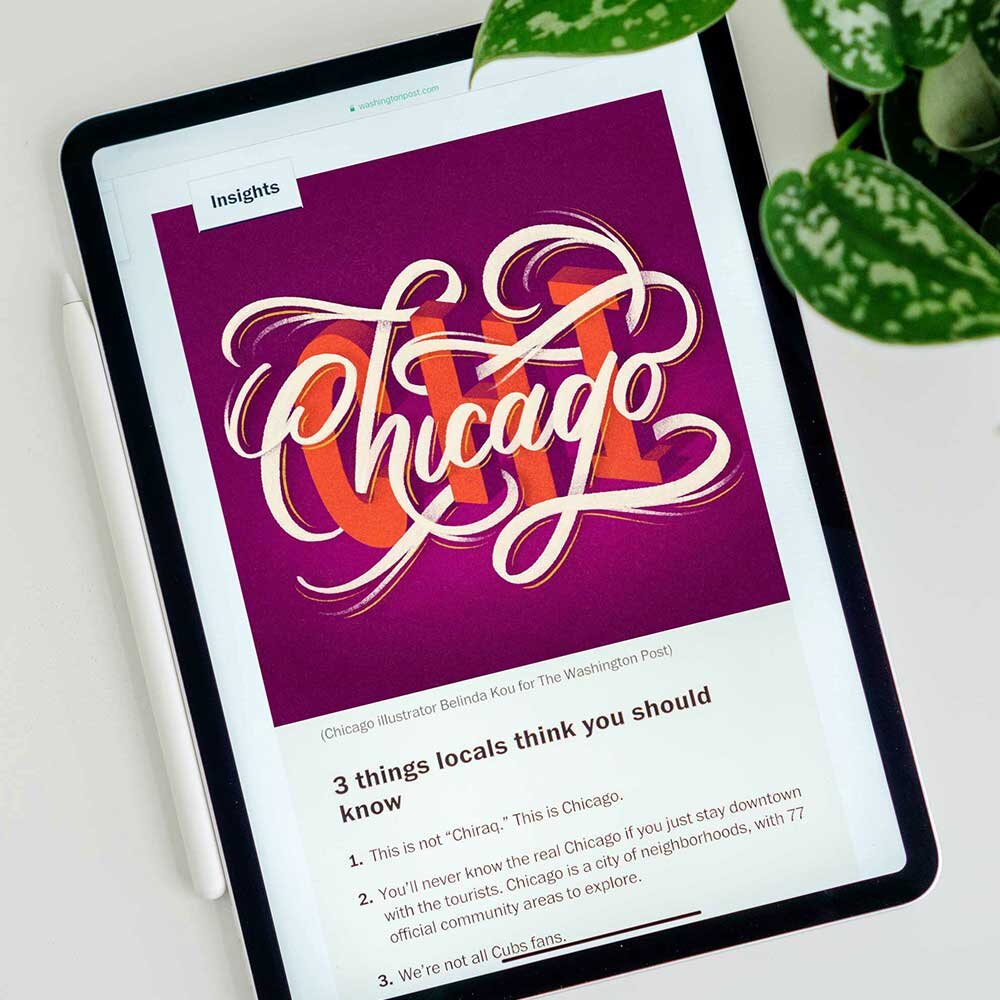
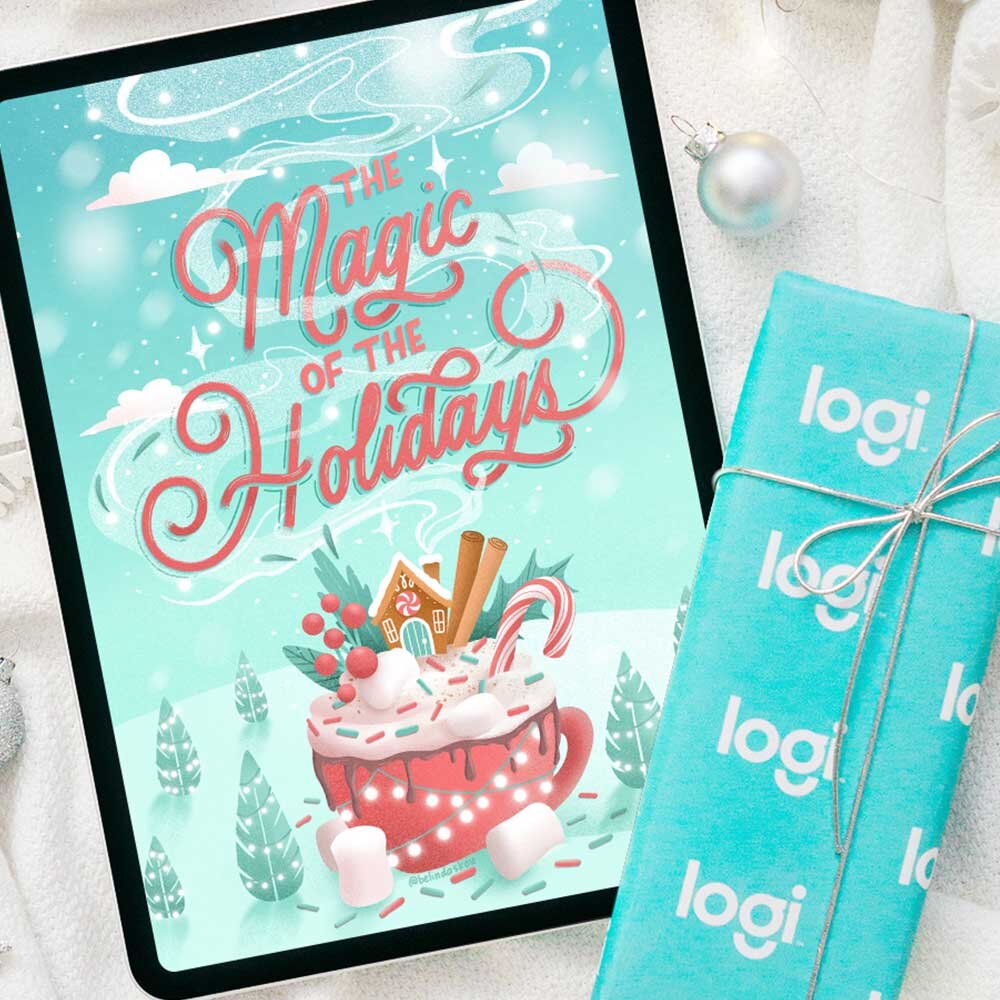
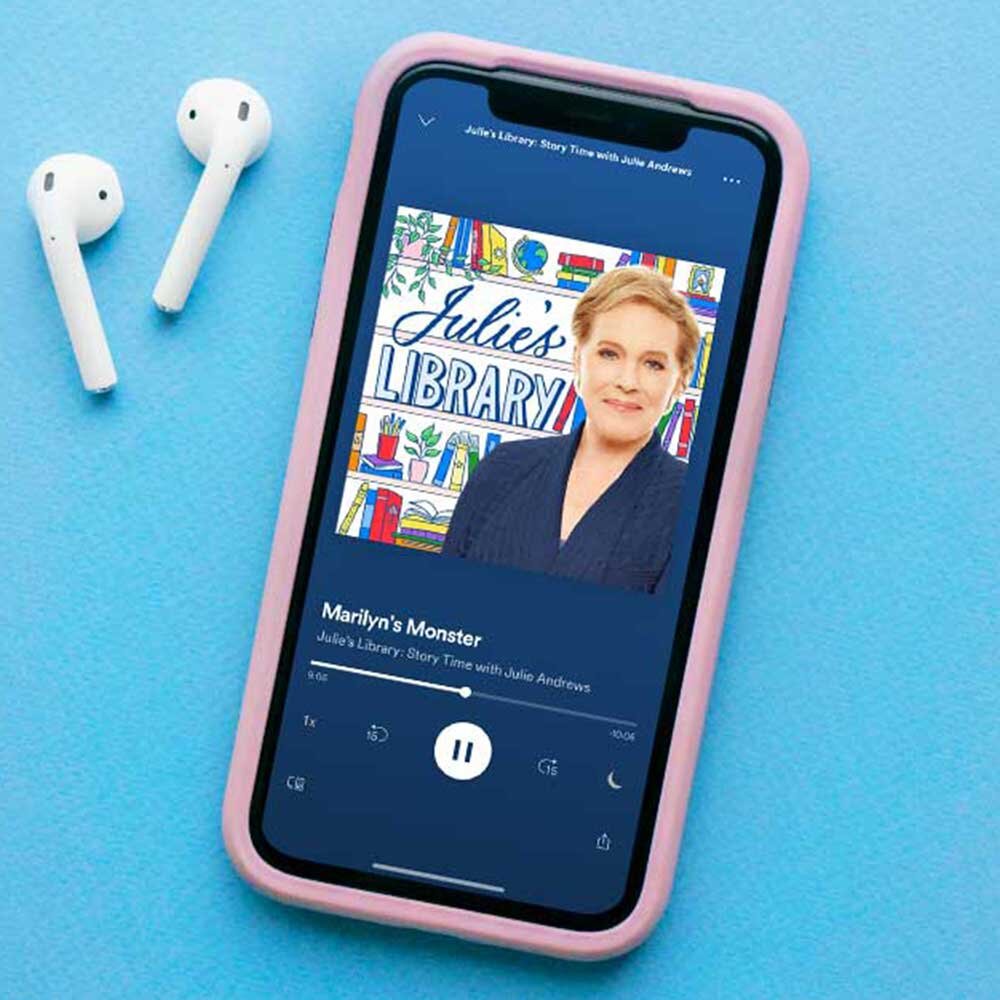
It’ll help you attract freelance work! Thanks to my tablet, I’ve been able to work for clients like The Washington Post, Trader Joe’s, Logitech, and even Julie Andrews 🤯🤩. (see below)
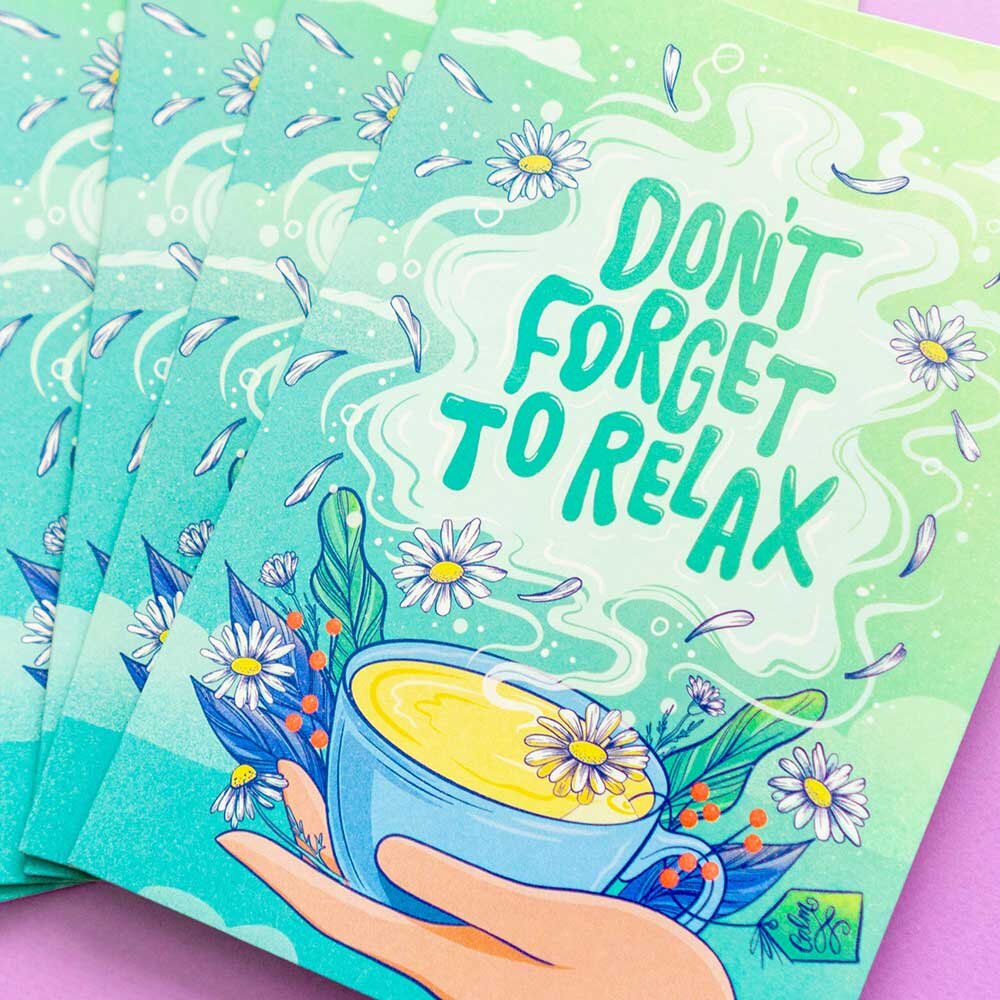
It’s easy to create gifts and sell products, too!
But how do you decide when there’s so many options for tools and tech? It can be a bit overwhelming!
Sooo, here’s a curated list of what I’ve tried and continue to love.
Find out what tools will help you draw with ease. That won’t crash and lose your work. That let you letter while watching Netflix without lagging. 😉
But first! Avoid shiny object syndrome!
Unfortunately, new tech won’t magically make you better at your lettering (past Belinda didn’t know this and was sorely disappointed 😅).
The magic of the art you create? That’s you, you creative soul. 😍
You don’t need digital tools for that. If you’re still struggling with pencil and paper, get confident with what you have because...well, upgrading to digital is expensive. 😉
But since you’re here, you’re probably past that point. So let’s keep reading!
Pin me to bookmark this resource! ⤵

Browsing this article by category? Here they are:
The killer tablet + stylus combo
Apple iPad
There really is no other option besides an iPad for me, haha.
In a non-techy overview, here’s what I use (most recent to oldest):
2020 iPad Air 10.9” (affiliate link)
This iPad is very fast (thank you M1 chip)! The image quality is very clear. Comes in super pretty colors (I have the blue one), though I always add a case to my iPads so that part is often covered up anyway. Overall, I think it’s a great alternative budget option to the Pro. The smaller size also makes it easier for travel. (watch this video for an unboxing)2020 iPad Pro 12.9” (my go-to iPad - here’s an affiliate link to it)
I really love the 12.9” screen (same size as letter-size paper!). When I upgraded from my 2018 Pro, I immediately noticed a faster speed and better clarity, and I get more layers in Procreate. The larger screen means less shifting around the canvas. (watch this video for a comparison between the Pro and Air for Procreate layers)
What’s the benefit of the Pro and Newest Air?
I love using the Pro. You’ll notice faster speed and more layers in the Procreate app for the same-sized canvas in the Pro compared to the Air. The screen size is larger on the Pro, too. However, the Air is a great budget-friendly alternative to the Pro.
Ultimately, you must decide on:
1) Your budget
2) Preferred screen size, storage, and speed.
Can’t decide? It might help to make a trip to the Apple store to test different models in person! Then you can really compare the difference.

Apple pencil
Get the Apple pencil! No comparison.
(Make sure to get the correct generation for your iPad!)
Okay yes, the price kinda hurts. But you get what you pay for, and it’s the most responsive stylus with the best pressure sensitivity for the iPad.
In other words, it behaves the closest to a pencil in real life. There are other options, but what you save in money you’ll lose in time (at least I did).
Favorite drawing apps

Procreate App
One of the most popular drawing apps out there! Designed for the iPad, Procreate has a lot more features than at first glance. Its team is always making updates, too. Plus, it’s a $10 one-time purchase! That’s like 3 coffees from Starbucks. 🤯 I’m a huuuge fan (of both 😉).
Adobe Fresco
This app is made for the iPad and is included in Adobe Creative Cloud. Fresco has some cool unique features like live brushes (think painting but digital where you can go back to blend stuff with texture), vector brushes, unlimited layers (!!)... The best part is you can try it out for FREE before deciding if you want to purchase the premium version. If you already use Photoshop, the cloud syncing works great between Fresco and Photoshop.
Adobe Creative Cloud
While I love drawing in Procreate, my design background has trained me to use Adobe regularly in my workflow. It helps me to stay efficient in my creative process and confident in the files I provide to my clients in freelance work. Creative Cloud is a yearly subscription (pricey though). I mainly use Photoshop for retouching, resizing, and production, Illustrator for vector work, Lightroom for photo editing, and InDesign for layouts.
Favorite accessories
Once you have your tablet and stylus, you may realize you need some accessories (or maybe you just want to make it look cute ❤️).

Otterbox iPad Case
I’ve tried some less expensive, colorful cases from Amazon before, but if you’re clumsy like me or have kids (or both), better get something that can protect it. 😅 You don’t want an accidental drop to ruin your expensive purchase (shudder)!
This is the Otterbox case for the iPad Pro. It’s sturdy and covers the edges of the iPad for extra protection. The flap by the Apple pencil keeps the case closed and the pencil from disconnecting. I’ve bumped my iPad Pro before and it’s never been scratched!
PS double-check that the case matches the size and generation of your iPad!

Paperlike screen protector
I have a confession...Paperlike is the only screen protector I use. It makes a huge difference compared to drawing on glass. I have better control with my pencil, it reduces glare, and you’re treated to some oddly satisfying ASMR. 😍
Easy installation with a backup
You also get 2 screen protectors per order! Just in case you mess up the first time (remember that time you put a screen protector on your phone and got a ton of bubbles?). The good news is Paperlike has a step-by-step video and tools included, and my studio assistant (aka my husband) had no problems installing. This basically means you could end up with a spare to use later.
Wear and tear
If you draw with a lot of pressure, you’ll want to adjust the sensitivity of your pencil. Any screen protector will wear down your pencil tip compared to glass. I don’t use a ton of pressure and replace my pencil tip once a year. Light scratches will eventually build up on your protector. I usually replace my protector once a year, too.

Uppercase Pencil Grips
NimbleSleeve
This sleeve by Uppercase is what I use! The generation 2 Apple Pencil is a little harder to hold than the generation 1 (which is completely rounded). Adding the sleeve really helped.
NimbleSleeve is available for both Apple Pencils. The design is slightly different for the gen 1 (see here). Plus, it comes in some real cute colors.
NimbleGrip
If you’ll be drawing for a long period of time or you get hand cramps, this grip works really well.
I switch to the grip when I know I’ll be spending at least 2 hours on the iPad. Also comes in cute color choices. The only downside is if you have a generation 2 Apple pencil, you need to remove the grip to charge.
Happy digital lettering!
Wahoo, you made it through all the recs! I hope this helps you to decide on how you want to upgrade.
Got your digital tools already? Try out this tutorial on how to create an illustrated letter in Procreate.
If you’d like to get more into digital drawing, check out my free resource download and email series to get you confident and efficient in using Procreate.
Happy digital lettering, my friend!