Before Adding Spice: A Peek Into My Lettering Process
I once had my husband try a Chinese noodle dish I made (I’m not a fan of cooking). After a few bites he looked up and said, “Something’s missing. It needs more spice!” (What can I say, I married him for his honesty 😆) Turns out I hadn't quite cooked the noodles to al dente — no amount of spice could've fixed that! 😅
We've all had that moment with our lettering, right? That feeling that something's missing.
But just like nailing the basics of cooking before reaching for the spice rack, let's ensure our foundation is solid.
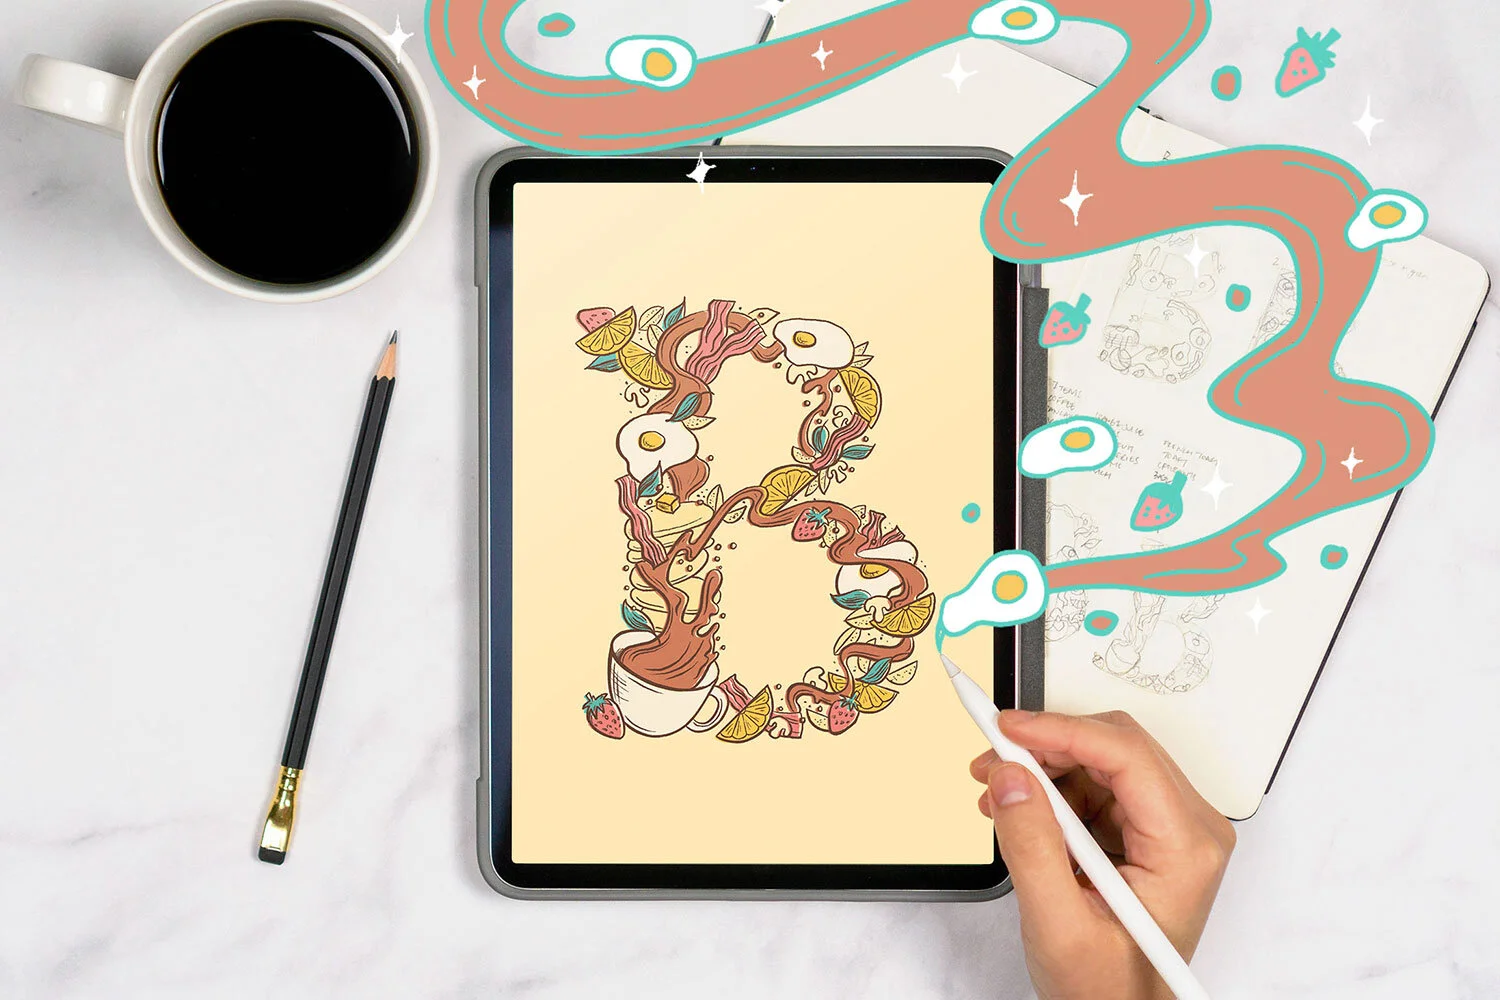
Here's a peek at my process for planning lettering compositions:
Step 1: Brainstorm & sketch

Start with paper and pencil to get messy with ideas, aka a brain dump (no filtering here!)
Write out your phrase
Plan your composition with rough thumbnail sketches (keep it small so you don’t get ahead of yourself and try to refine too early. Nothing like wasting time on a bad idea 😉)

Pro tip: Use simple boxes to plan your lettering layout first
Sketch simple shapes instead of letters to focus on the overall layout. Add the letters once you're happy with the composition.
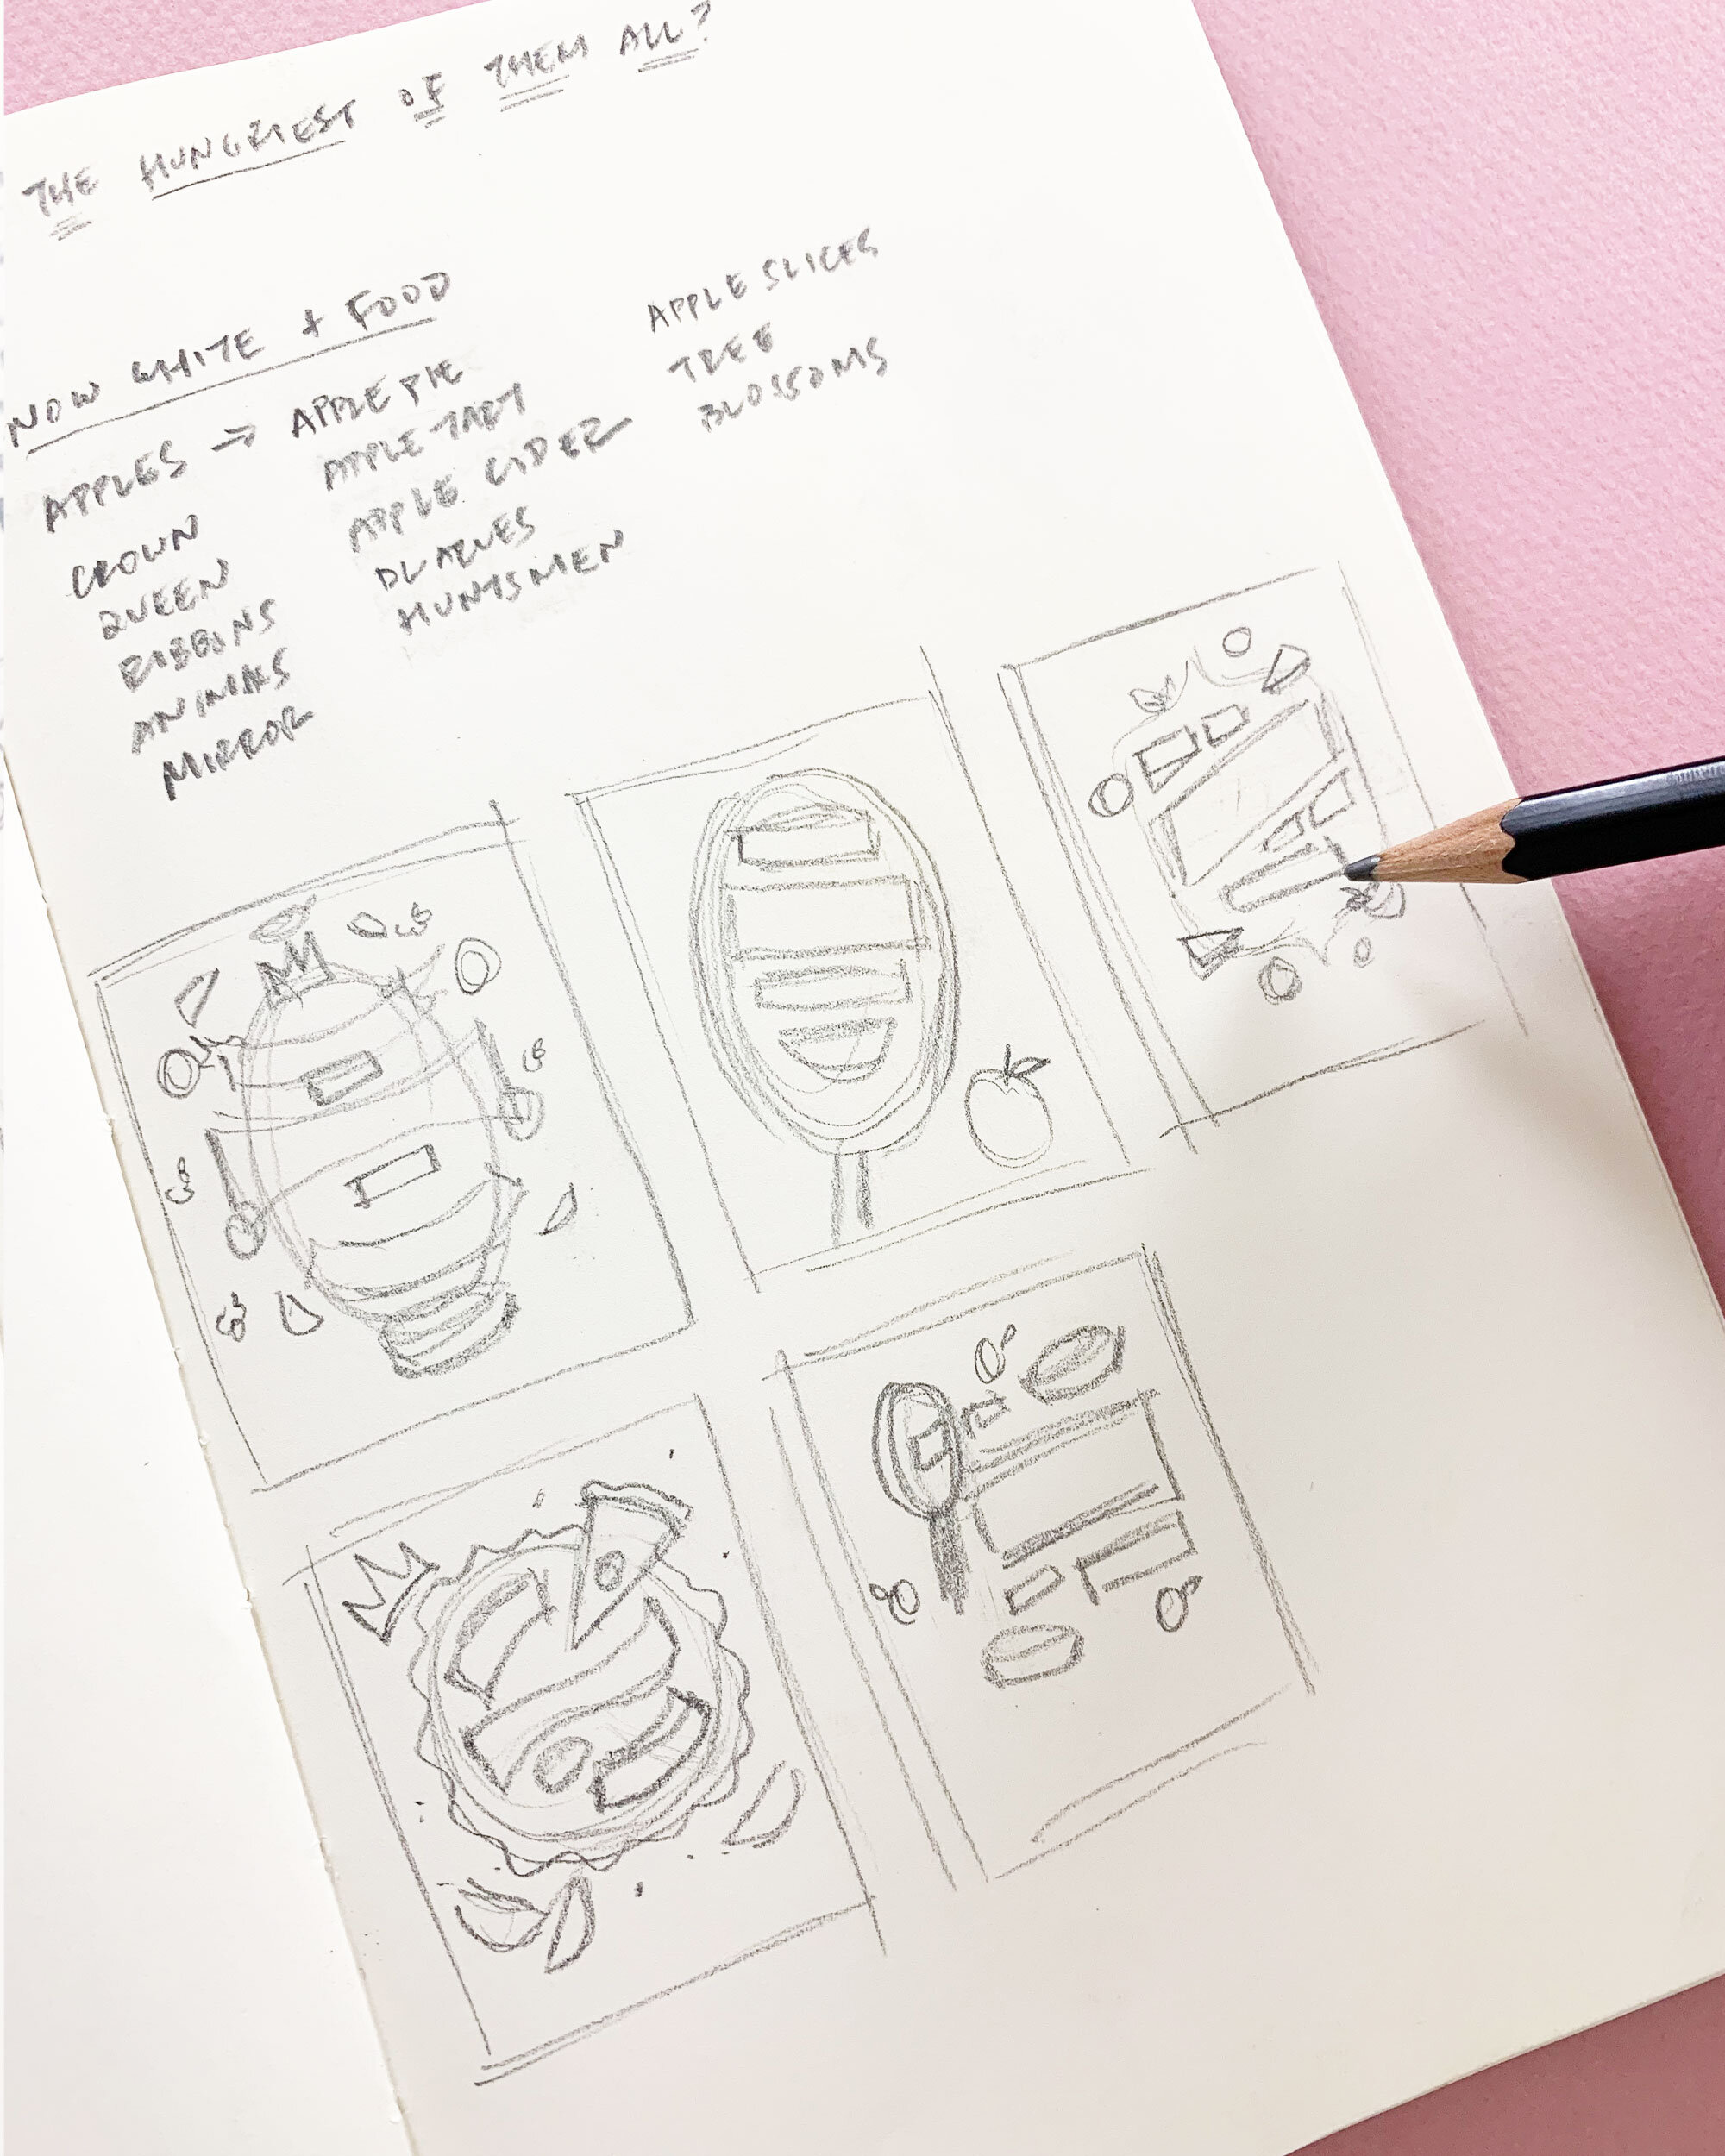
To stretch those creative muscles, I always aim for 3-5 ideas.
Step 2: Digital refinement

Set up your canvas (I work at 8" x 10", 300dpi in Procreate)
Import your strongest thumbnail sketch as a starting point
Work in layers to refine your lettering and any illustrations
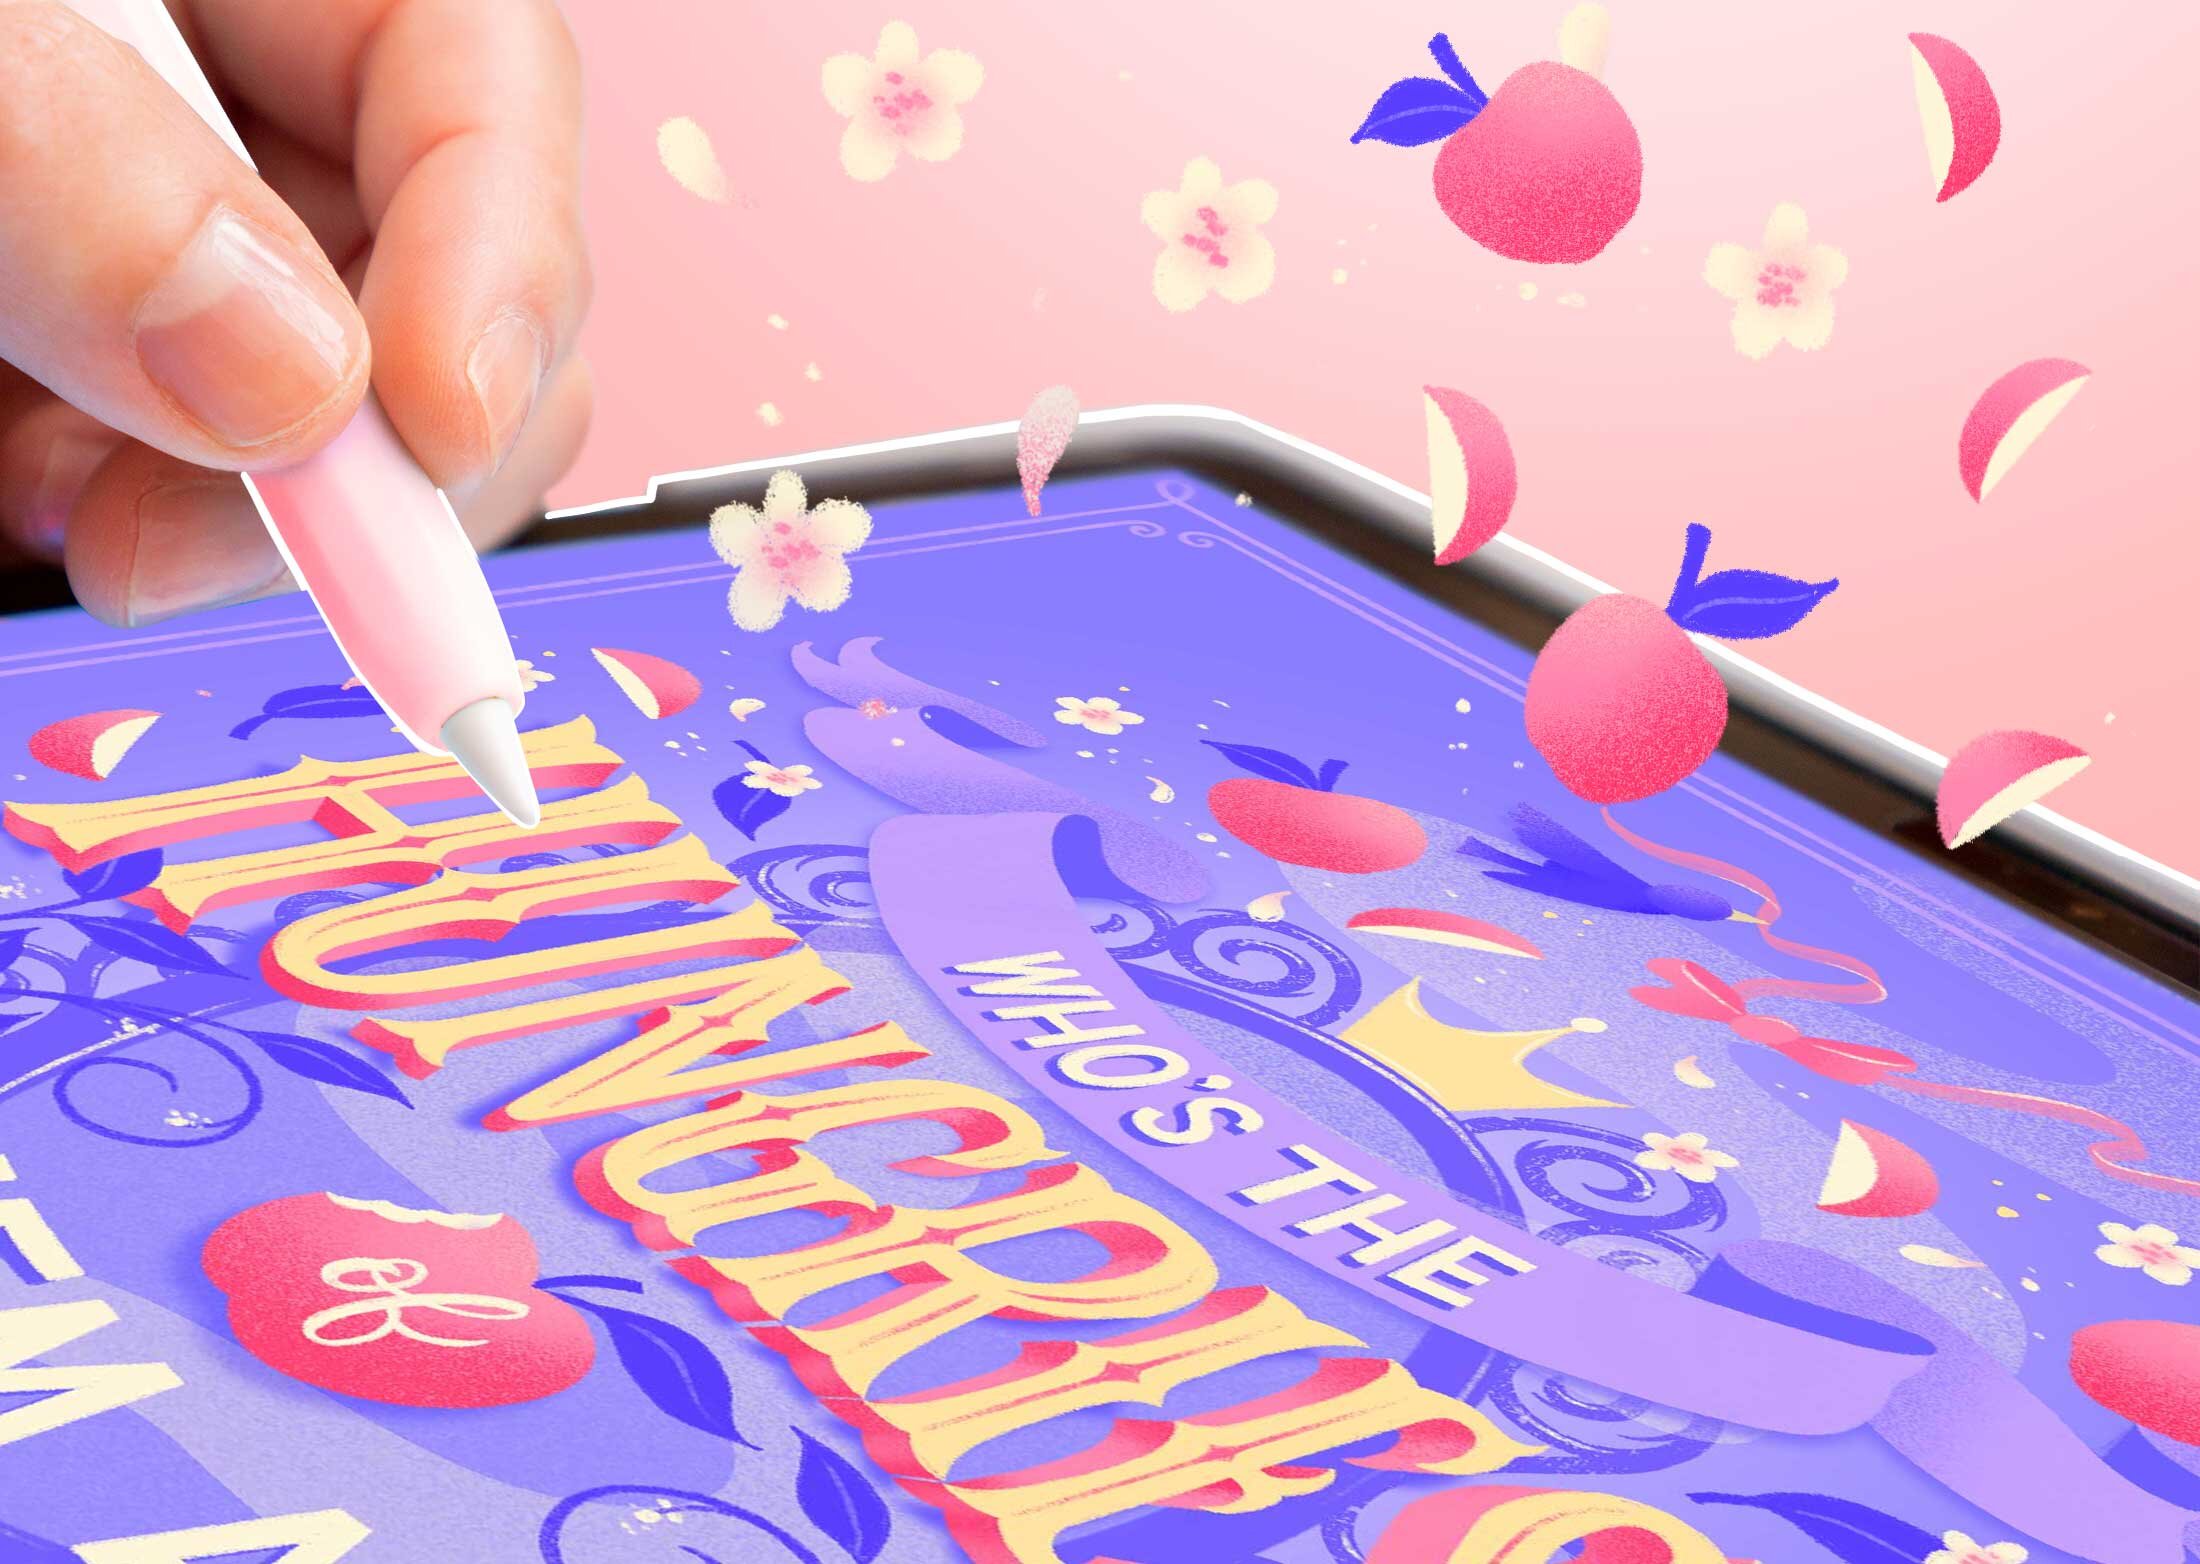
Step 3: Add color and polish

Start with quick color blocking to determine your palette (notice just how rough that is when I do it! I’m getting a sense of how the colors are distributed without getting caught up in refining details)
Build up your final piece layer by layer
This is the longest part of the process for me. Take a break, eat a snack, and get back to it when you’re ready to keep going. 😉
Step 4: Add finishing touches

A pinch of decorative elements here, a dash of texture there. This is the fun part!
Season to (your artistic) taste. 😉
The texture brushes I use in this piece are Procreate’s noise brush, Shoutbam’s Rough and Raw set, and Gouache Shader brushers.
Step back and enjoy your finished piece!

You can even mock it up into some fun book covers! Here’s the template I used for these.


Ready to speed up your digital lettering process?
Grab my free Procreate Shortcuts Cheat Sheet! And keep an eye on your inbox... a spicy new guide for adding flavor to your lettering is coming soon!
Hungry for more resources?
Check out more digital lettering tutorials below!